
The Warehouse workspace includes a Transfers list for moving stock between the warehouse and locations. Available routes and actions can vary with your account setup and permissions.
Create a transfer
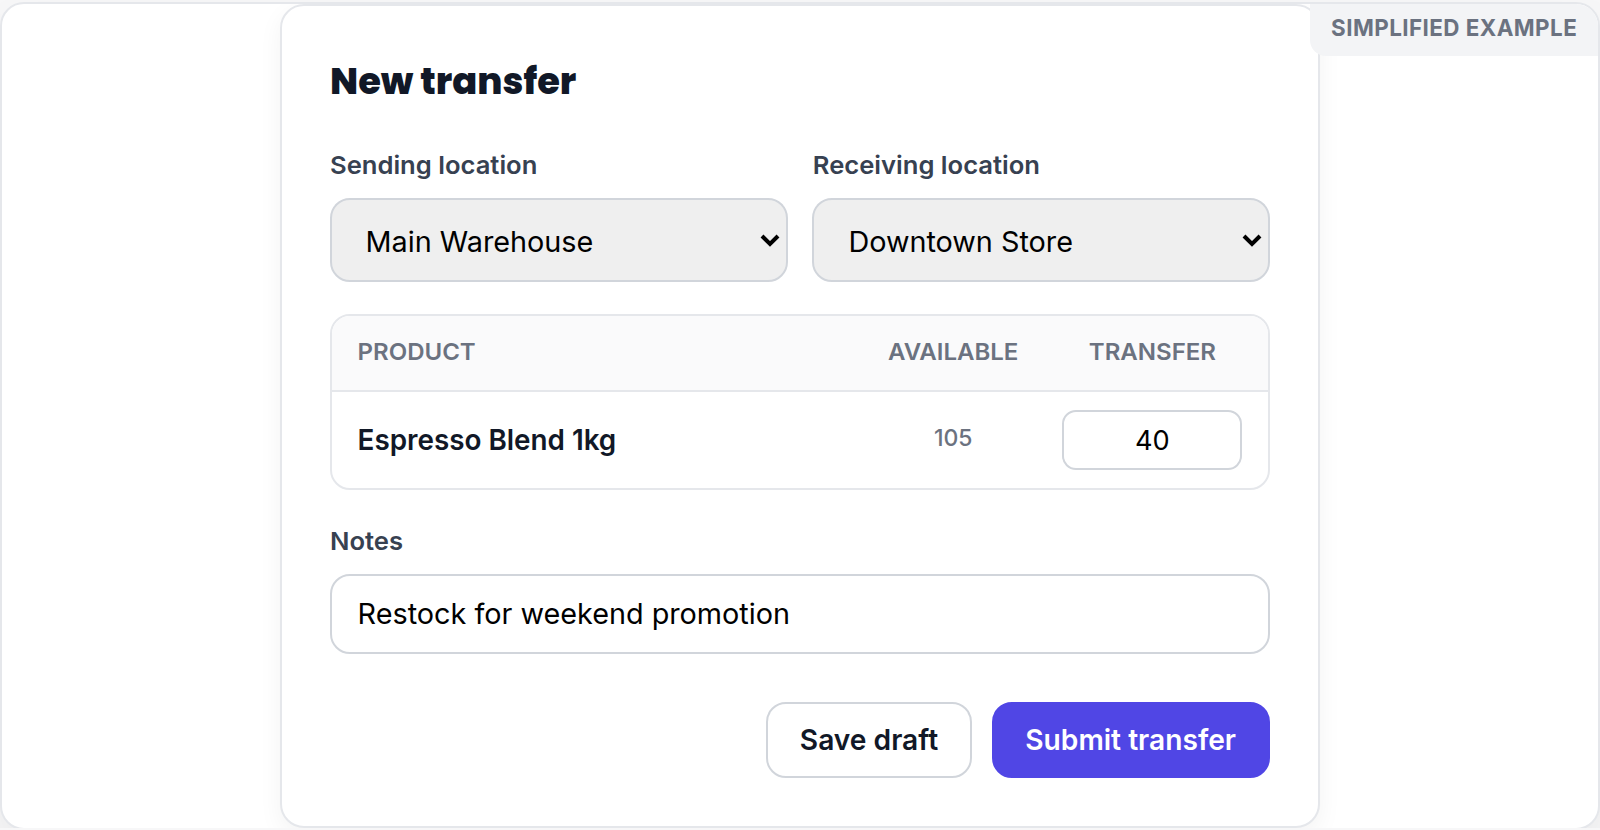
Simplified screen example with sample data.
- Go to Inventory > Transfers.
- Select New transfer.
- Choose the sending and receiving locations.
- Add products and quantities, then add a note if it will help the receiving team.
- Review the line items and save or submit the transfer using the available action.
Use the transfer list to search, filter by status or location, and open a record for its route and item details.
Follow transfer status
Transfer records can be shown as Draft, In transit, Received, or Short shipment. Check the record before promising stock to another location, especially when items are still in transit.
Resolve a short shipment
When a receiving count is lower than expected, open the short-shipment transfer and select Resolve if it is available. Compare the expected, received, and difference quantities. Choose the reason that best describes the difference, add an optional note, and mark it resolved.
Do not use a generic stock adjustment to hide a transfer discrepancy. Keep the transfer and its receiving count together so the team has a clear record to review.
If New transfer or Resolve is unavailable, check that you are in the correct location and ask an administrator to review the relevant warehouse permission.